06.04.21
Most of the screen-based (don’t mind my reluctance to use the word “digital”; it sounds so 90’s to me) projects we work on are conceptualized from the ground up, or derivative of a previous version. But every so often, a team we’re working with has the goal of taking a print communication they’ve created and formatting it for the web.
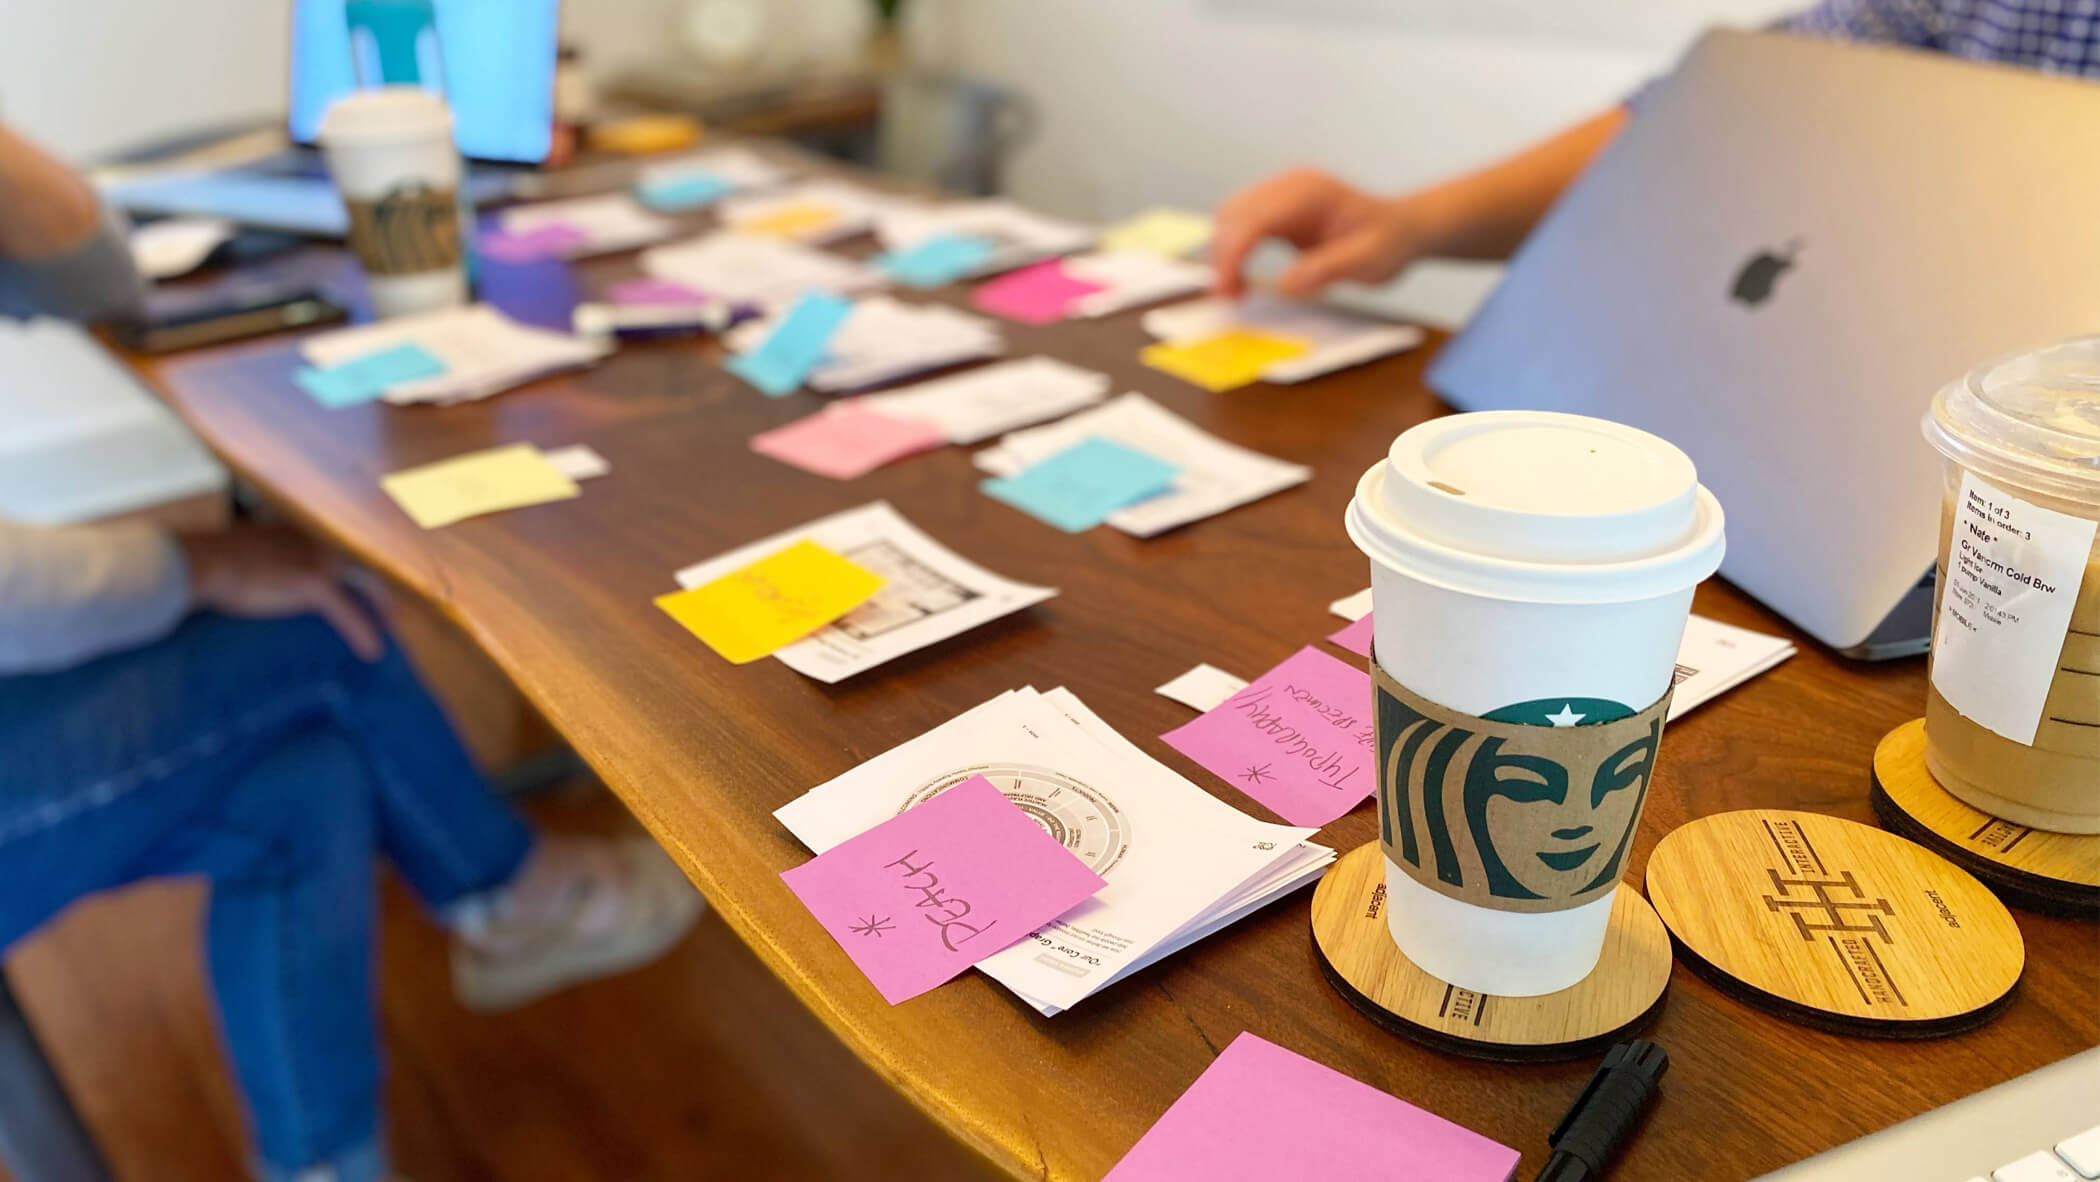
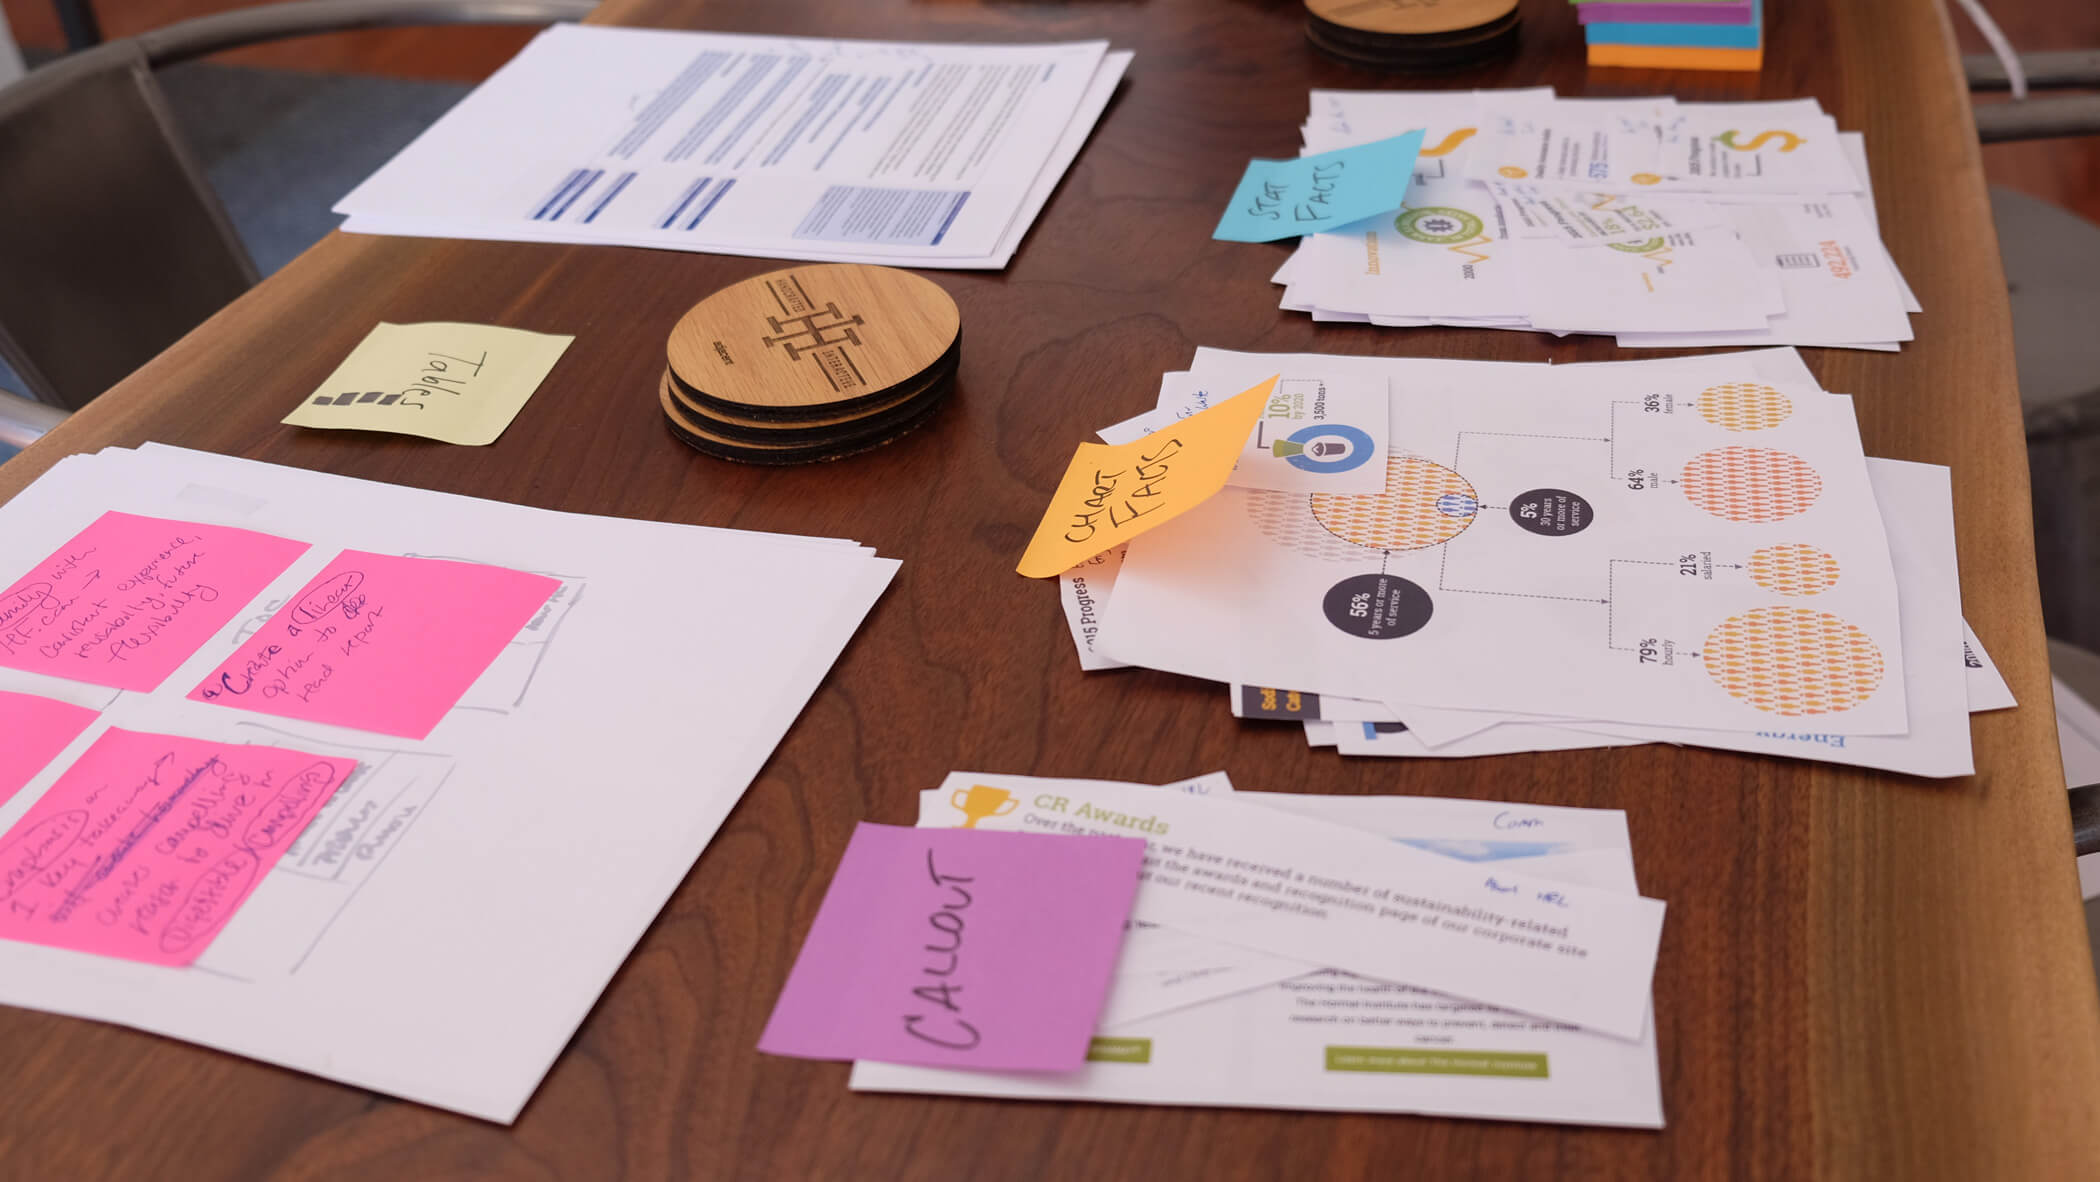
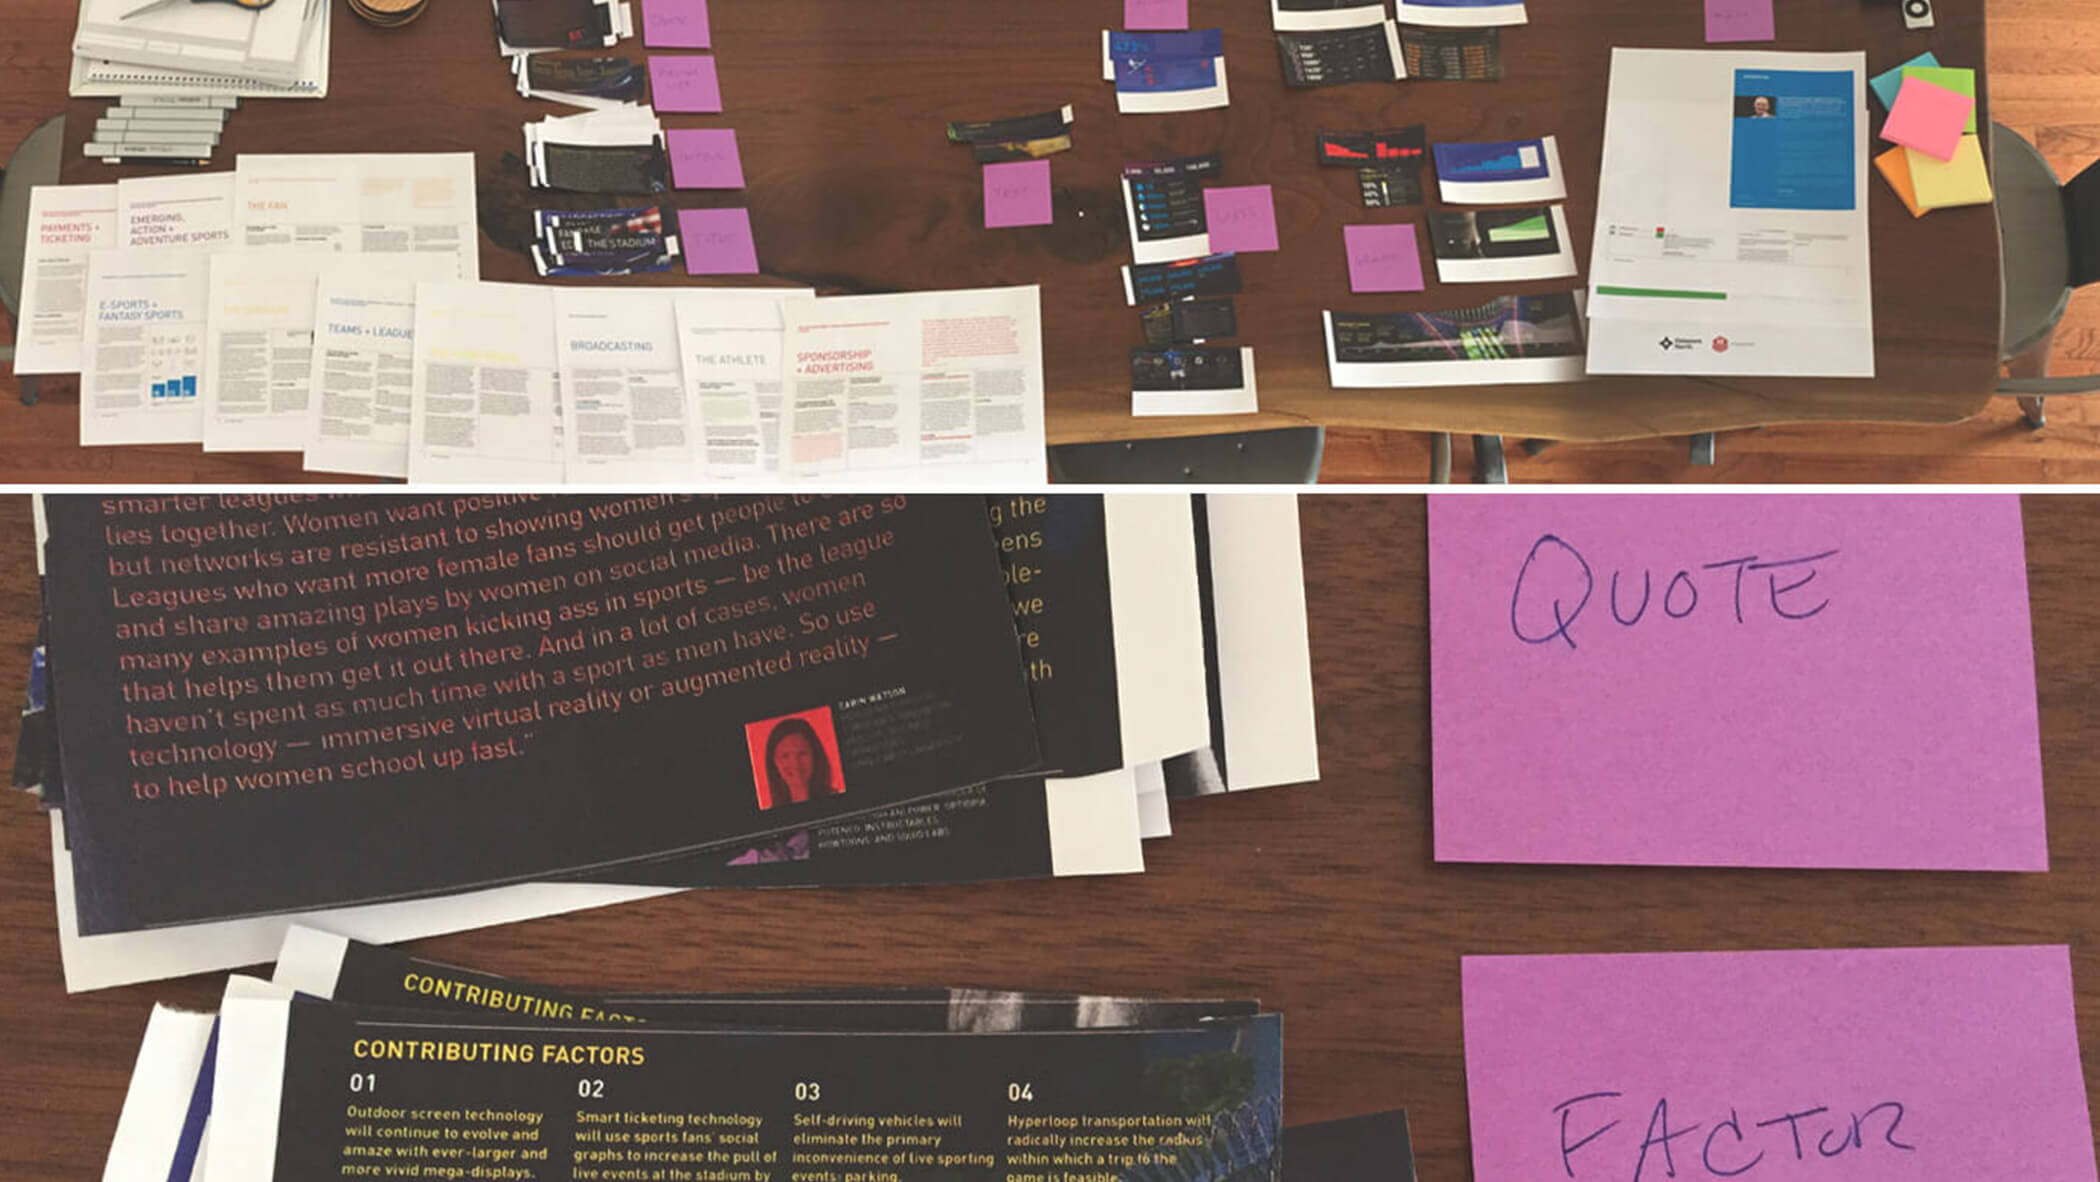
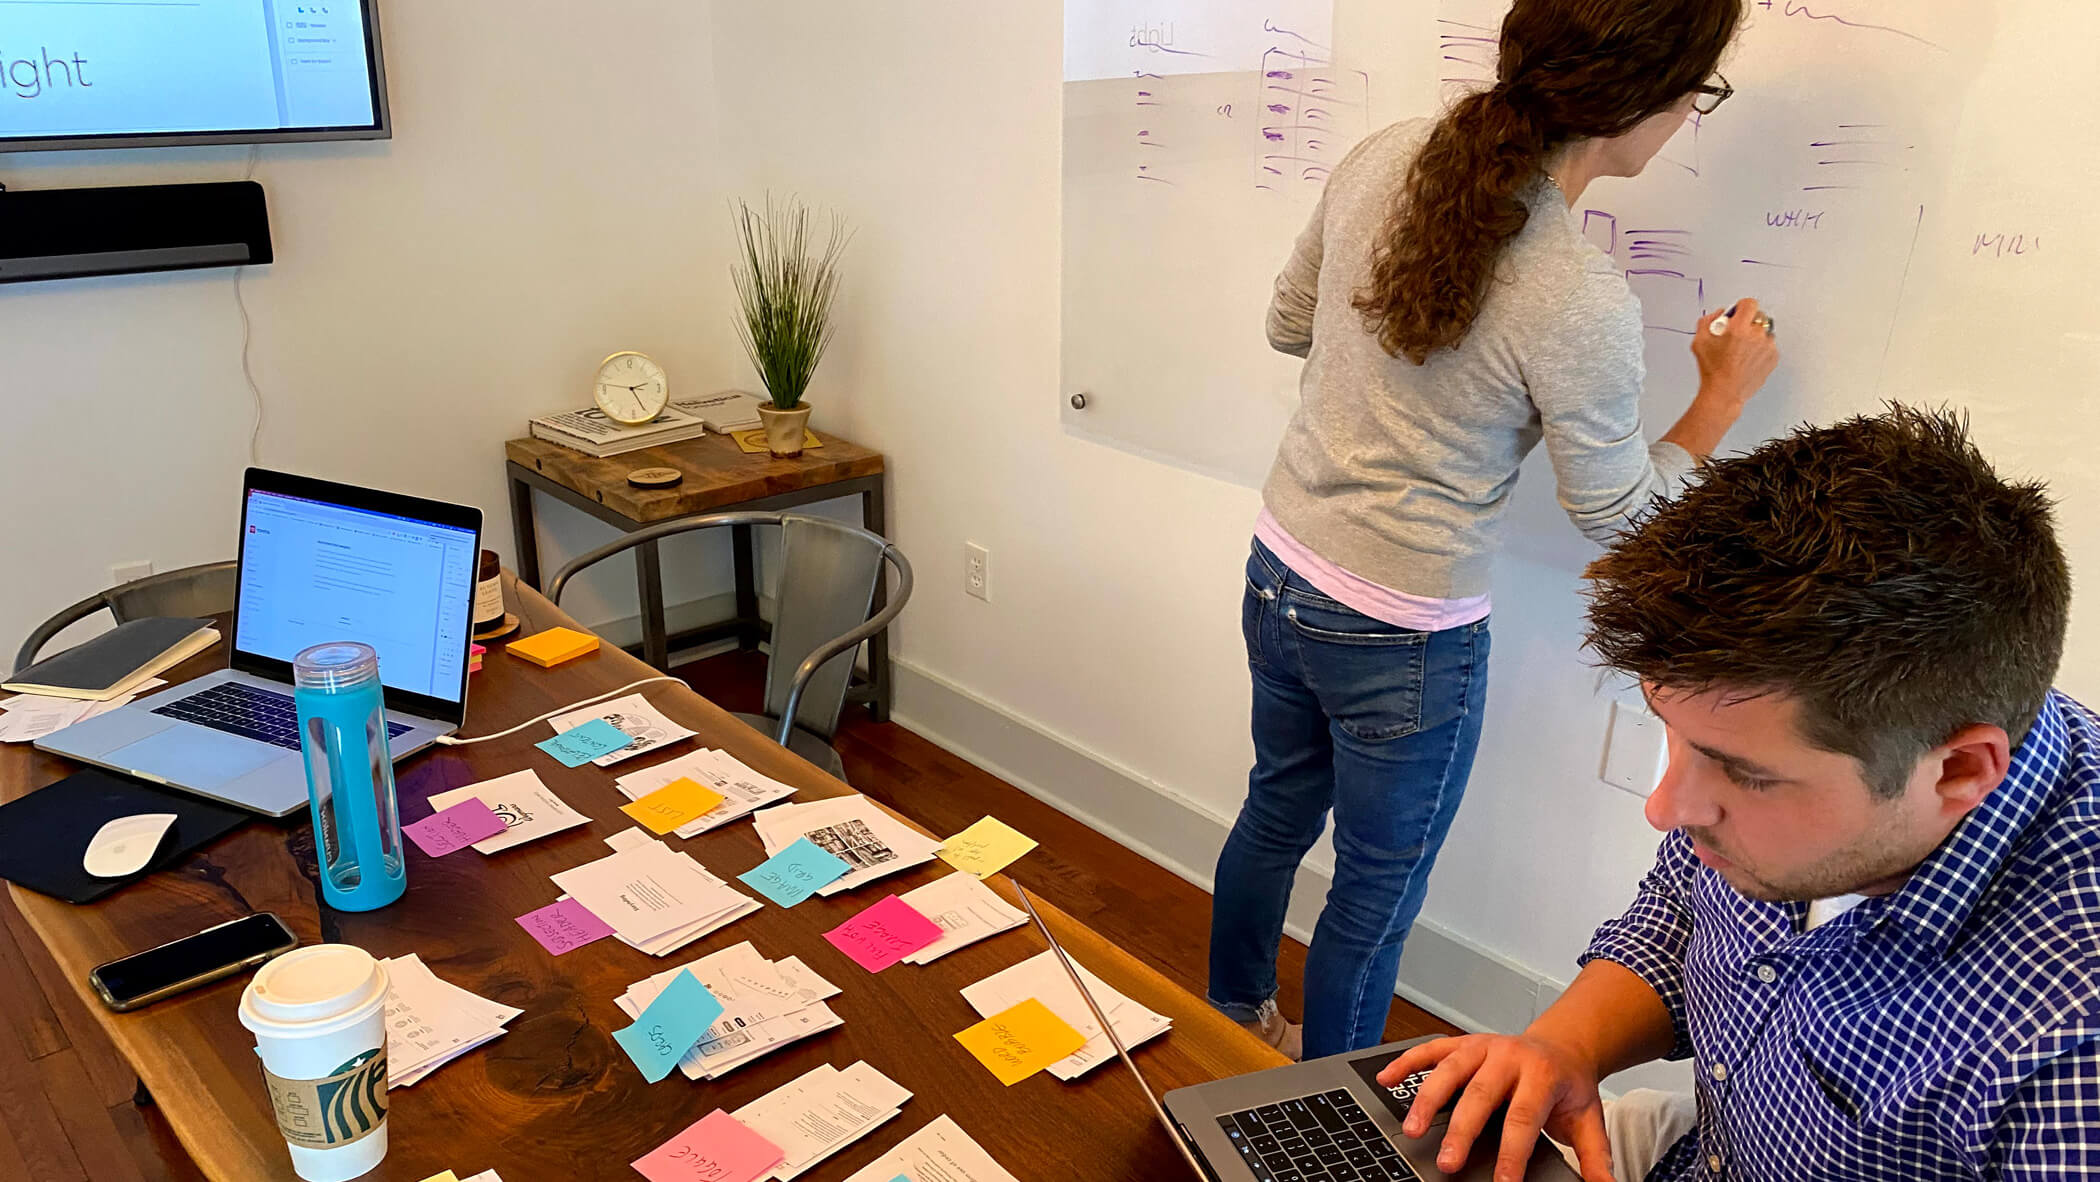
The Future of Sports
Check out how we cut up The Future of Sports report and turned it into a system of reusable patterns
More Unconventional Methods
Dan Rose
Homepage Last Dan Rose
On Nimbleness